
Chris Nolan
Technical Consultant - Web Developer
Technical Consultant - Web Developer

Shopify Website & POS

Online Membership System

Systems Integration

Multi-tenant Card System
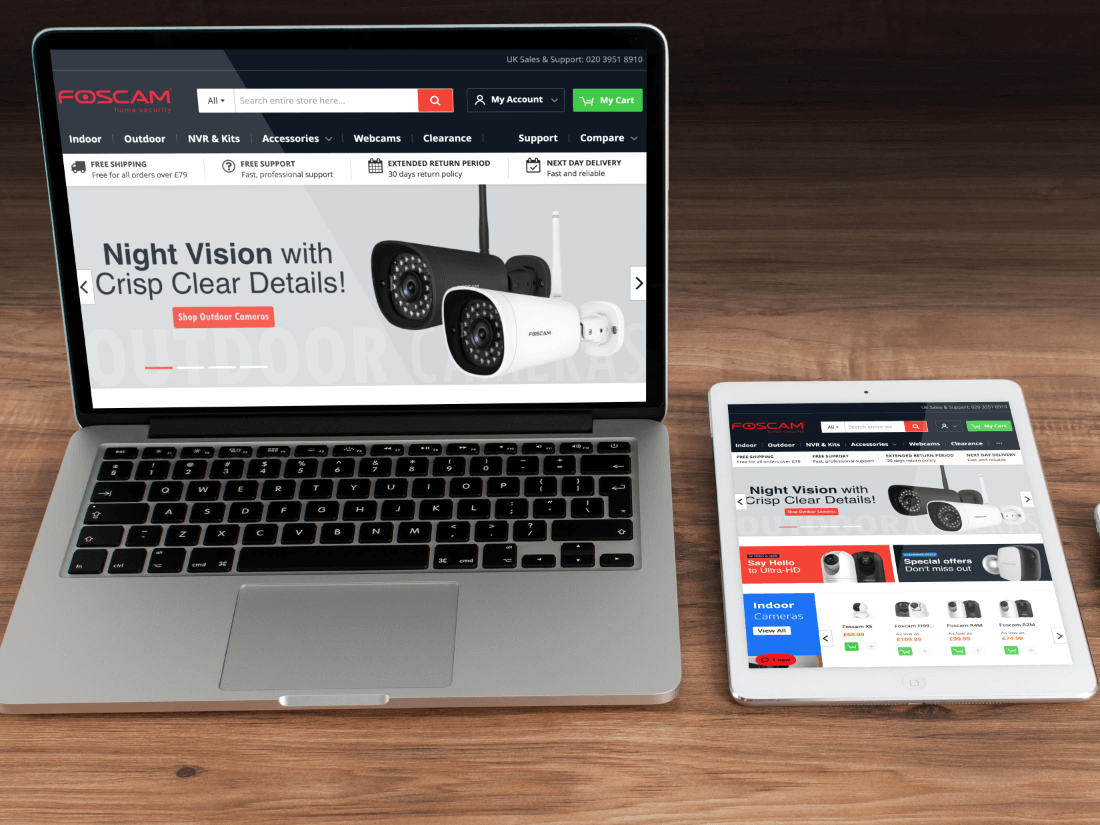
Magento 2 Online Store

Multi-channel Ecommerce
I am a technical consultant and web developer with a focus on e-commerce, bespoke web applications and system integrations.
I work closely with businesses to design and build solutions that help them to succeed.
As a technical professional I will bring current and relevant knowledge to your business.
I specialise in implementing web applications and integrated solutions that increase efficiency and allow businesses to grow.
Form submission successful.
Thank you for contacting me, I will be in touch soon.
Error sending message.
Please reload the page and try again.